Starting to draw - Part 2.
Posted on
Starting to draw. Choose your materials
Part 2. Watersoluble Graphite
by Anne Kerr
_____________________________________________________________
In part one, we looked at drawing with graphite pencils and examined different methods of shading in order to make our drawings look three dimensional. I suggested that you had a go at making a drawing of the little New Zealand Maori house from the photograph provided; trying to use some of the shading techniques we looked at. Figure 1 shows you my drawing of this subject together with the original reference photo. I have listed some of the shading patterns I used. How did you get on? Did you remember to start your sketch by drawing "from the outside in"? In other words, drawing the biggest shapes first, and then gradually working your way down to the smallest details. This enables you to scale your drawing and sit it comfortably on the page
.Figure 1
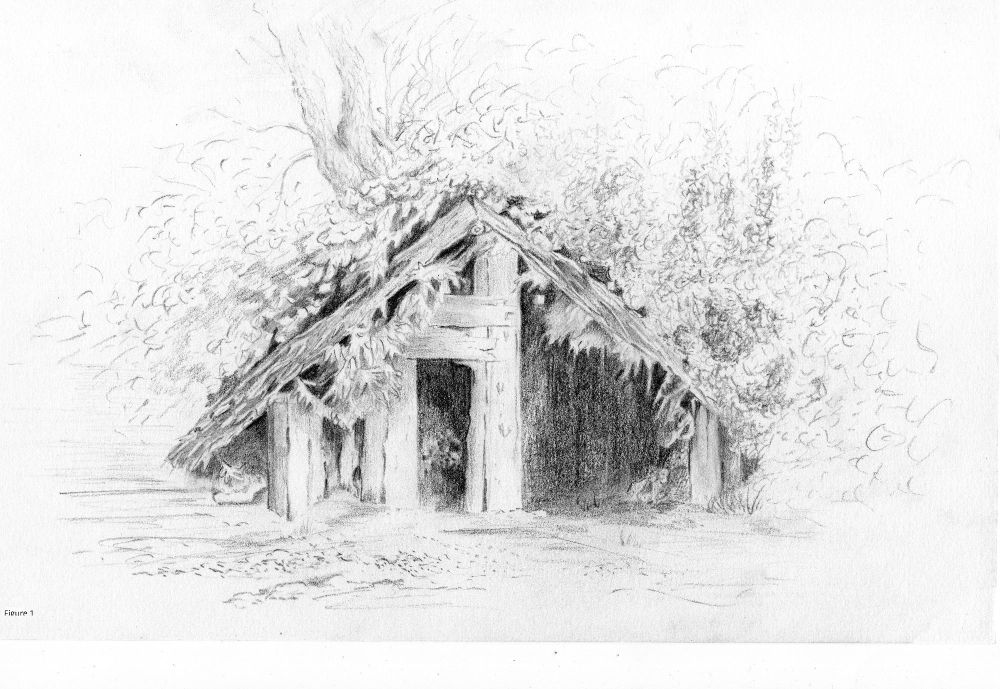
Drawing solely with one colour enables you to really concentrate on your tonal values. Soft lines with very little detail in the distance and stronger darker tones with greater detail in the foreground. Experiment with different pencils, some soft, some hard. Let them work for you in producing both light and dark lines. It's difficult to get the depth of shading you want with just one grade of pencil. Many drawings and paintings don't work as well as they could because the tonal values are incorrect.
Now that we have done a little work with graphite pencils, we move on and look at watersoluble graphite. I absolutely love this drawing medium as it is so versatile. It is the perfect combination between drawing and painting. Watersoluble graphite comes in various forms: pencils, pots and sticks. It's purely down to choice of, either working mainly with a paintbrush or with a combination of pencils and a brush. The graphite works in the same way whichever method you choose. However, for the purpose of this article, we will just look at the watersoluble graphite in pencil form. Similarly to ordinary everyday graphite sketching pencils, we don't need to purchase very many. In fact just three are quite sufficient. Again, the watersoluble pencils are graded according to their degree of softness. The ones I have chosen are Derwent Watersoluble Sketching Pencils. There are six pencils in the tin, two light wash, two medium wash and two dark wash. They also come with a pencil sharpener but I prefer to sharpen my pencils with a craft knife. The Derwent pencils have a little symbol that tells you that the pencils are watersoluble. Very useful when your pencils are on your workbench amongst other drawing materials. We will look at different ways of using this medium, try some simple sketches and also add a little colour to our pictures.
Materials you will need (see figure 2)
Figure 2.
Derwent watersoluble graphite sketching pencils. Light wash, medium wash and dark wash.
Waterbrush or watercolour painting brush with a firm point (size 8 or 10)
Hot Pressed watercolour paper (300gsm or heavier) or cartridge paper (200gsm or heavier)
Soft rubber
Kitchen roll
Palette or plate
Drawing board and tape.
The marks made by watersoluble graphite pencils look exactly like ordinary graphite pencils when you first draw with them. However, as soon as you wet your drawing the graphite moves like watercolour. Figure 3 shows you the difference in the light, medium and dark washes. You can get really strong darks with the softest pencil. If you want a very softly shaded area with no line showing, use a wet brush to take the graphite directly off the tip of the pencil. Alternatively, scrape a few flakes into a palette, wet them and use the mix like paint.
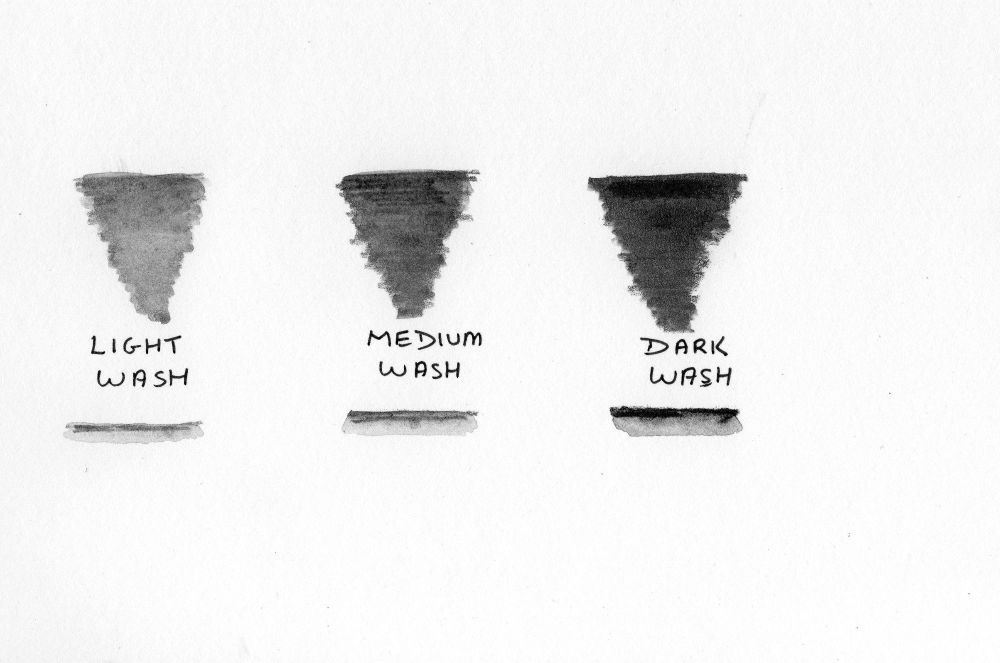
Figure 3.
Exercise
Use all three pencils, try to produce tonal shading that blends from both light to dark and dark to light
Tip
When you wet an area, work from light to dark to prevent dragging the darker value into the light area
When you make your sketches or drawings, you don't have to wet and blend every line. Leave some marks as they were when first drawn. Start with a soft outline and the first layer of shading using the light wash pencil, wet your lines and blend where needed. Remember to leave any areas that you want to show as white paper for highlights. Let this layer dry completely. Now go over your work again with the medium wash pencil to add more contrast. Let this layer dry. Now use your dark wash pencil to punch in some strong contrasts where needed. Look at figures 4a and 4b which show you two very simple little sketches using all three pencils. Some lines have been blended with water and some have not. Always lay down less graphite than you think you need, you can easily add more.
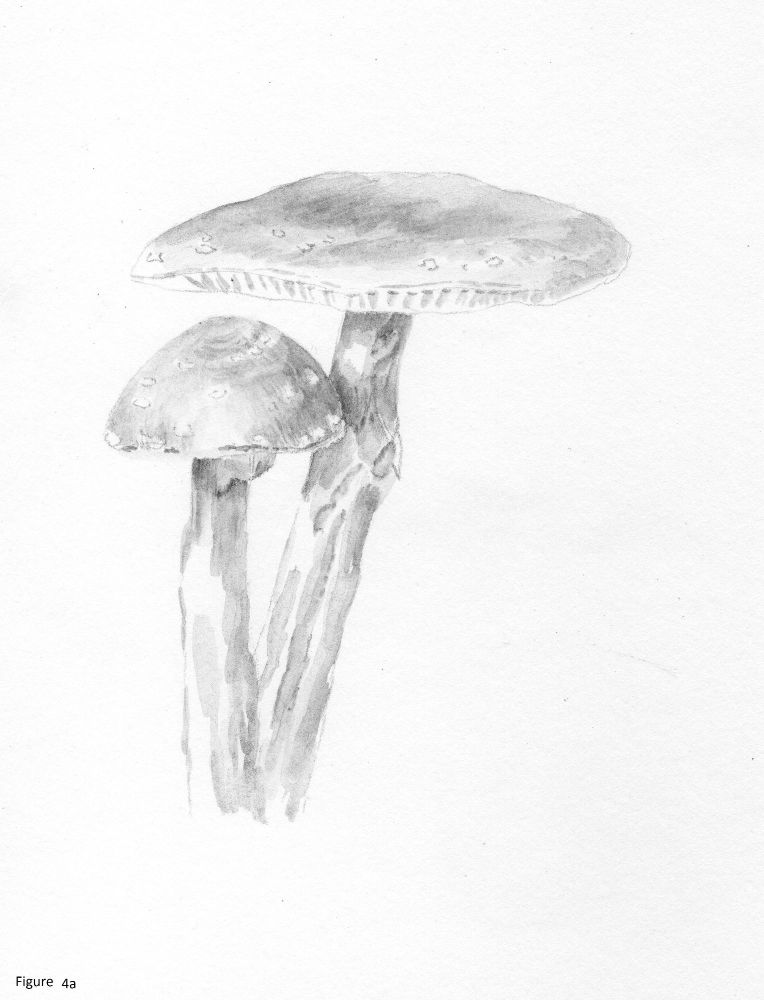
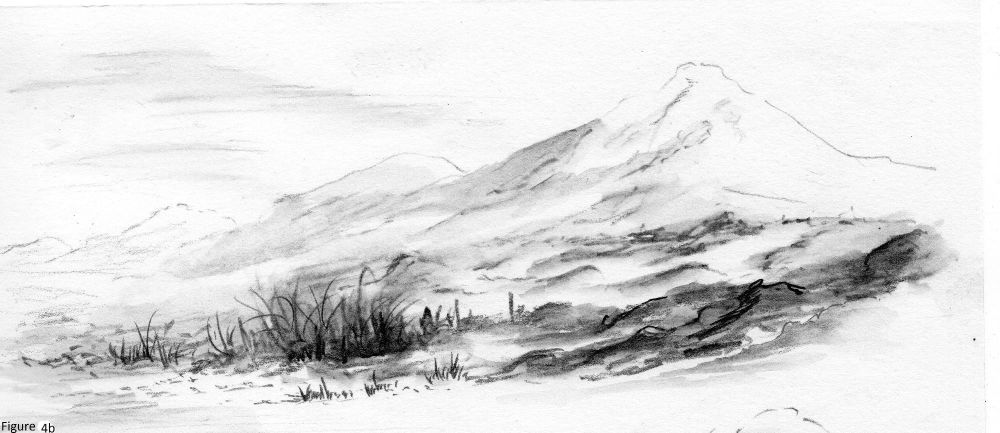
Figure 4(b)
Hint
Depending on the type of paper you use, watersoluble graphite can be difficult to remove once it has been activated.
In part one of this series about drawing; we looked at different shading patterns for different types of textures and shapes. When using watersoluble pencils, it is not easy using these shading patterns on areas where you intend to add water. The water will just make all the lines run together. Therefore, the main method of shading with this medium is one of blending light to dark and dark to light. Once again, because we are only using one colour, tonal values are paramount. If you want to add some additional textures to your picture, this can be done at the final stage using a dry pencil. Figure 5 is a little sketch of a river and bridge that shows you the pencils used in both their wet and dry form.
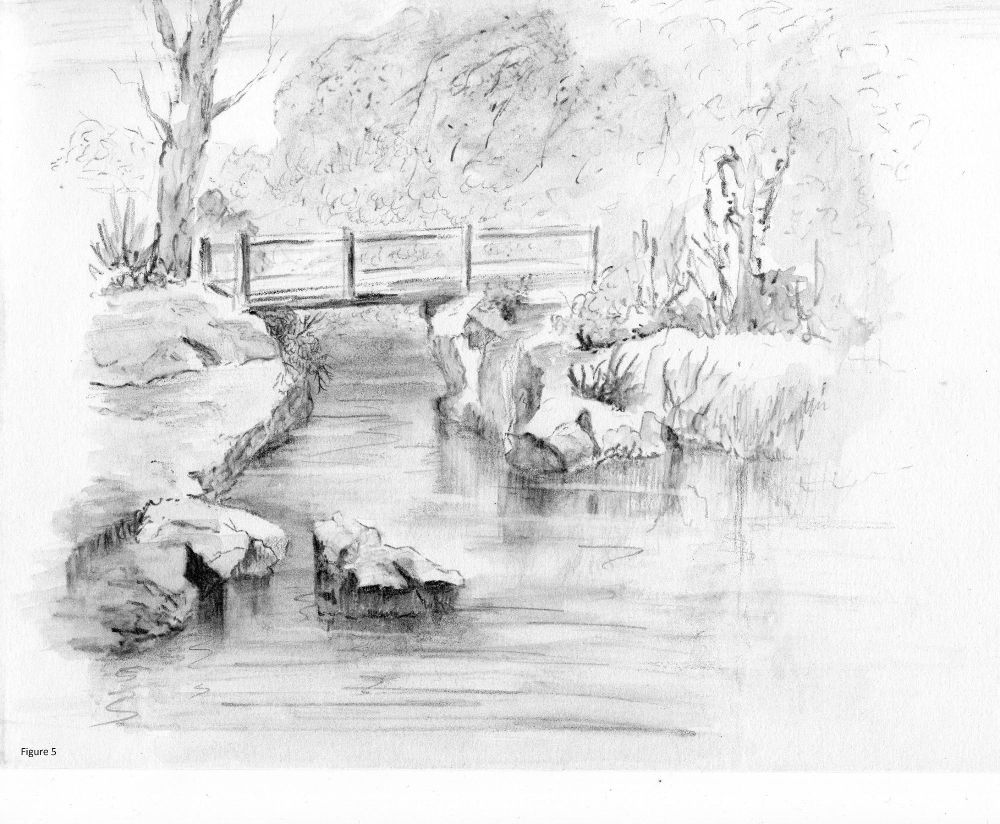
Figure 5
If you want to add colour to your drawing, remember not to use watercolours as wetting your paper will ruin your drawing! You only need a hint of colour so the best materials would be simple coloured pencils. If you look at figures 6a and 6b, you can see a drawing I have done using all three watersoluble graphite pencils, some areas have been blended and some not. I then added a touch of colour. If you want to go one step further, Derwent have introduced sets of watersoluble graphite pencils in lovely subtle colours. Practice with your basic graphites first, then maybe progress to these coloured ones later.
These pencils are so versatile. You only need a few, a waterbrush and some paper. This gives you a little sketching pack small enough to carry anywhere
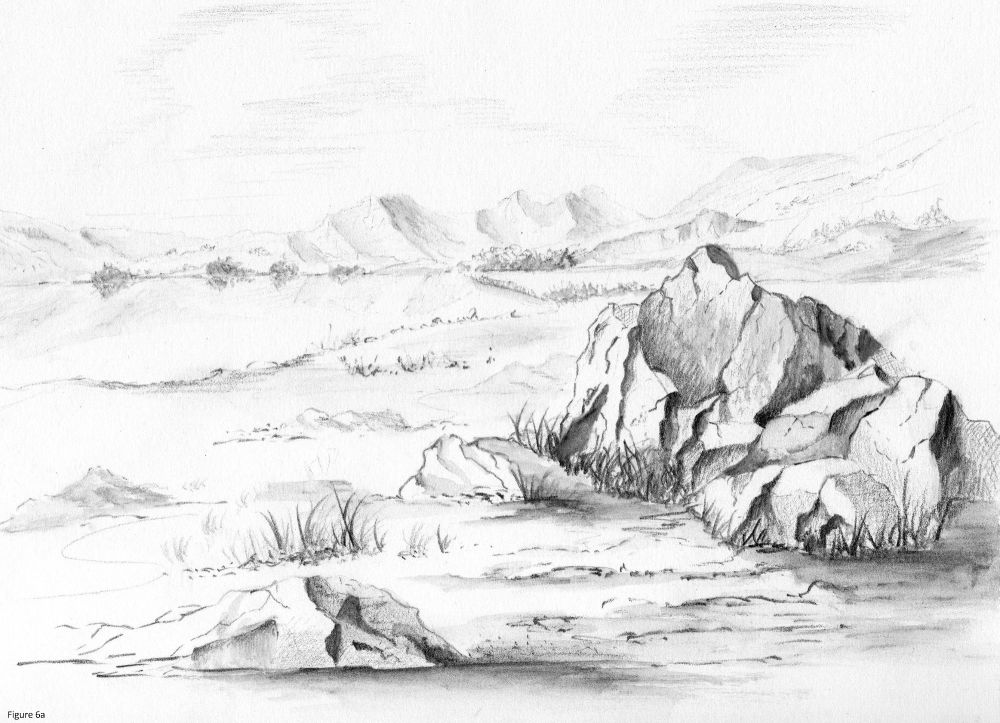 Figure 6a.
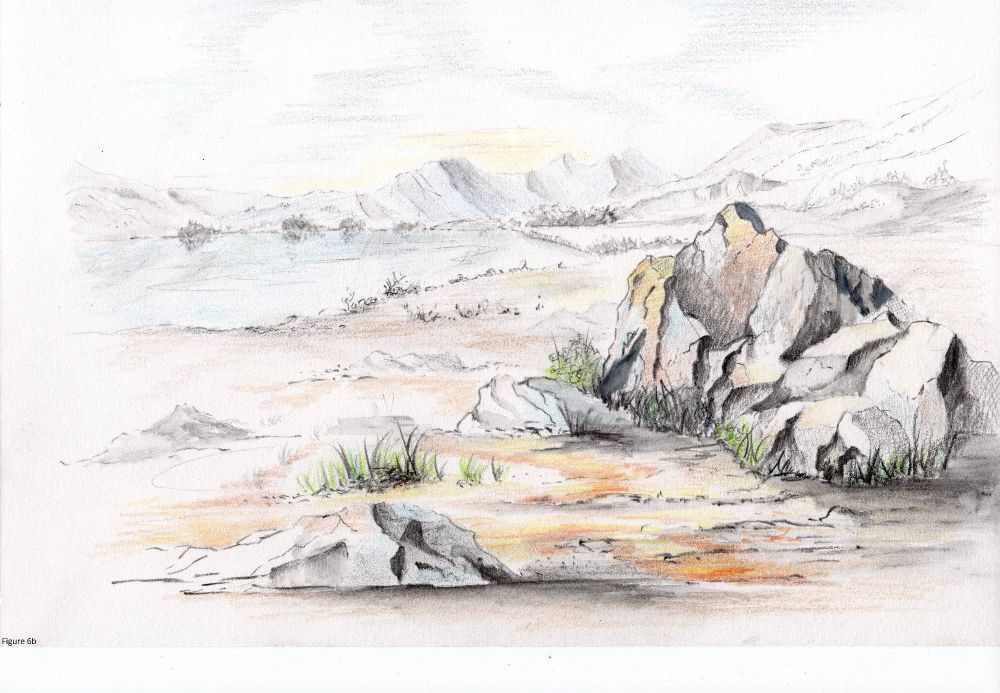
Figure 6b
Figure 7 is a photograph of a little village in Devon. I have changed a few things to make the overall picture less detailed and more aesthetically pleasing. I left out the rather complicated roof on the left side. I did not think either the seats or the washing on the line were necessary, as the main feature is the house. I enlarged the tree foliage behind the house so that the chimneys stood out against the dark background. Figures 8a-c show you the stages of the drawing. I started with some light wash graphite scraped into a palette and painted on with a brush. Then the medium wash was added in the same way, followed by the dark wash. The medium wash pencil was then sharpened and some additional texture lines were added to the drawing and left as dry graphite. Think about putting darks against lights and lights against darks (counterchange). Remember to build up the tones by letting each layer of shading dry before adding the next one.
Figure 7.
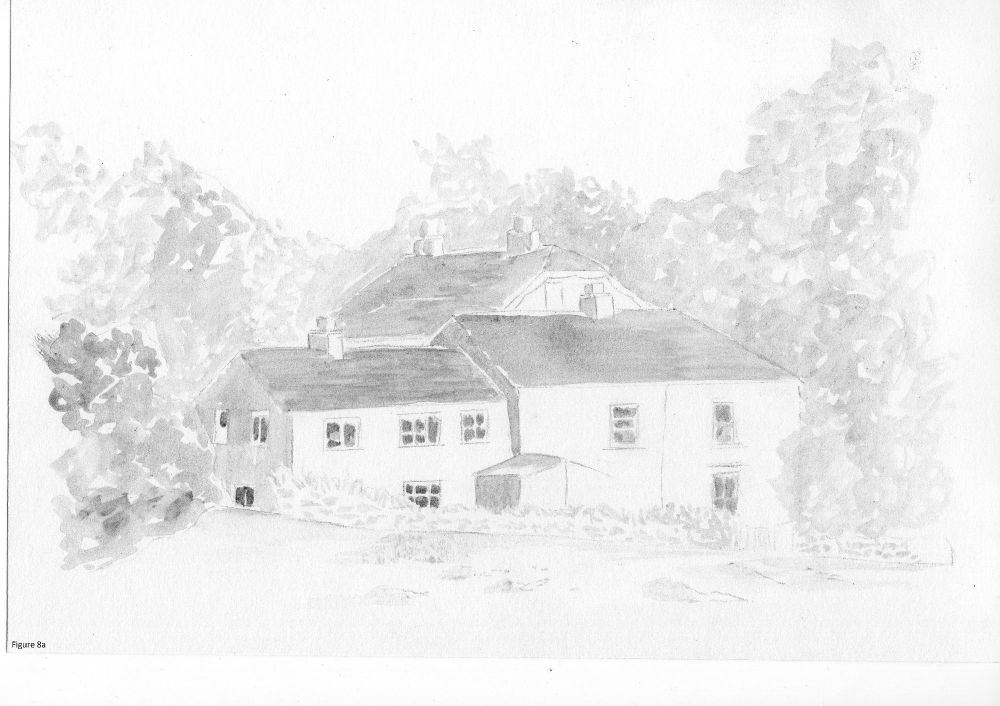
Figure 8a
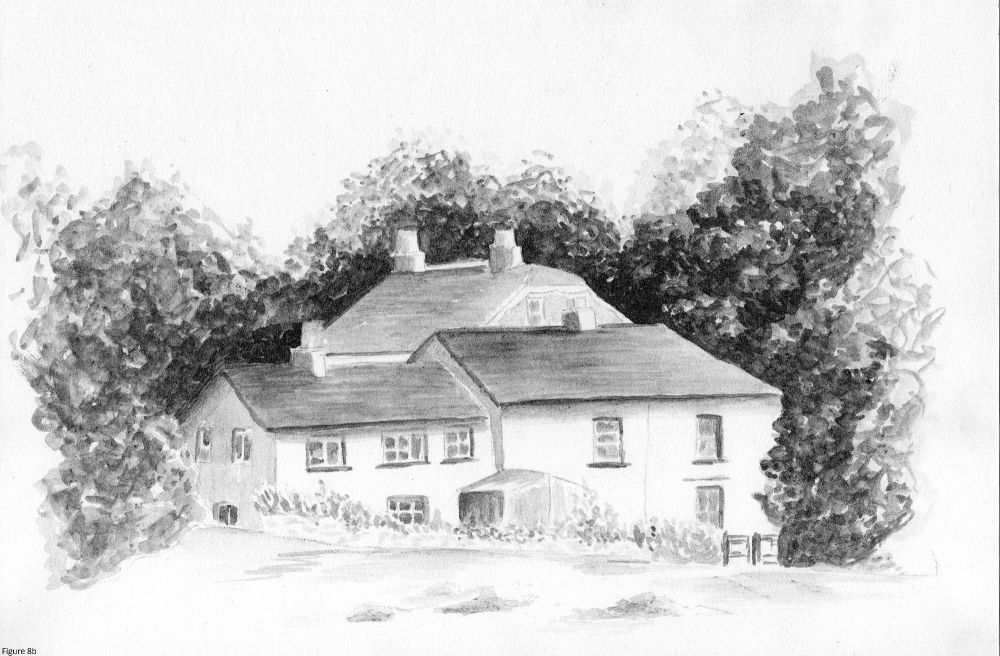
Figure 8b
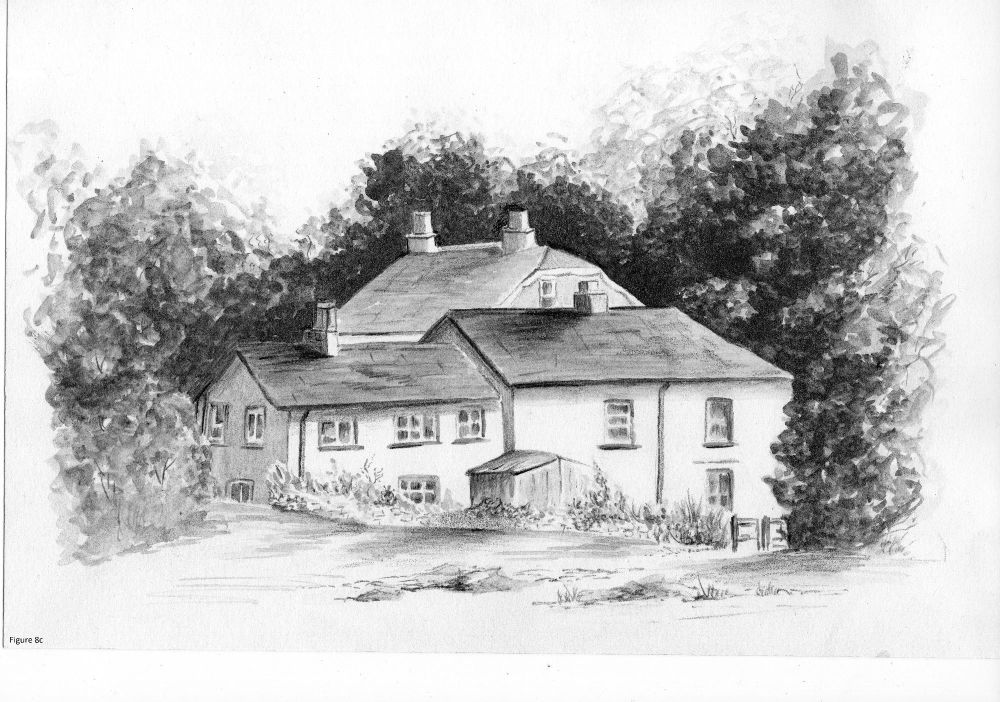
Figure 8c
The results you get with watersoluble graphite are quite different from those of ordinary graphite pencils. It's a matter of choice as to which you prefer. There is nothing to say you can't use both graphite and watersoluble graphite in the same picture. Have a go and see what interesting results you can achieve. Start with a simple object and progress to a full picture.
Next time we will look at drawing with ink both watersoluble and waterproof.
