Picture Framing - the basics. Part 5
Posted on
Picture Framing by Anne Kerr
Part 5: Storing your materials and accurately pricing a framing job
In the previous parts, I have taken you from using simple shop bought frames to making your own bespoke picture frames. We have mentioned all the materials and tools you require, so we will now look at how we can store these in the most practical way.
Most of us have very little extra space in our houses to store large amounts of additional materials and equipment. If you are lucky enough to have plenty of room, then you will be able to lay out your work area in an ideal way to suit your own needs. However, many people have to mange in very restricted areas. So, how can we utilise these small areas in the best possible way?
Workbench and tools
If you are able to have a proper workbench then of course this is ideal. Let's look at this first of all. Your workbench must be a comfortable height for you so that you are not bending and straining the muscles in your back. This is especially important when cutting mounts (mats). Everyday tools always clutter up the bench, because they are in frequent use. In order to get them off the worktop, screw a length of plastic guttering to the side of your bench, this provides accessible storage for hand tools, leaving your bench clear for the work. We have already pointed out the advantage of having an off-cut of carpet on the bench to protect the face of your picture moulding.
If you need to work on a kitchen table, keep all your hand tools in a well organised tool box that can be brought out and put away when required. If necessary, buy duplicates of the hand tools you already have, so that when the family need a screwdriver or ruler, they are not borrowing yours and forgetting to put them back! If you need to work on a kitchen table, purchase a sheet of board (MDF will do nicely), lay some non-slip rubber sheeting on the table and place your board on the top. This not only gives you a large working area but also completely protects your table.
Mitre cutter and underpinner
If you have chosen to make your frames using hand tools, then obviously these can be tucked away in a cupboard and brought out when required. If you have chosen to go for the professional floor standing tools, you may be surprised at the little amount of room these take up. If you have a garage, both these tools will sit against a wall, each taking up no more than half a square meter of floor space. Make sure you have good overhead lighting. Unless your garage is exceptionally narrow, you can still fit the car in! I used my mitre guillotine and underpinner in my garage for years and it worked well.
Picture moulding
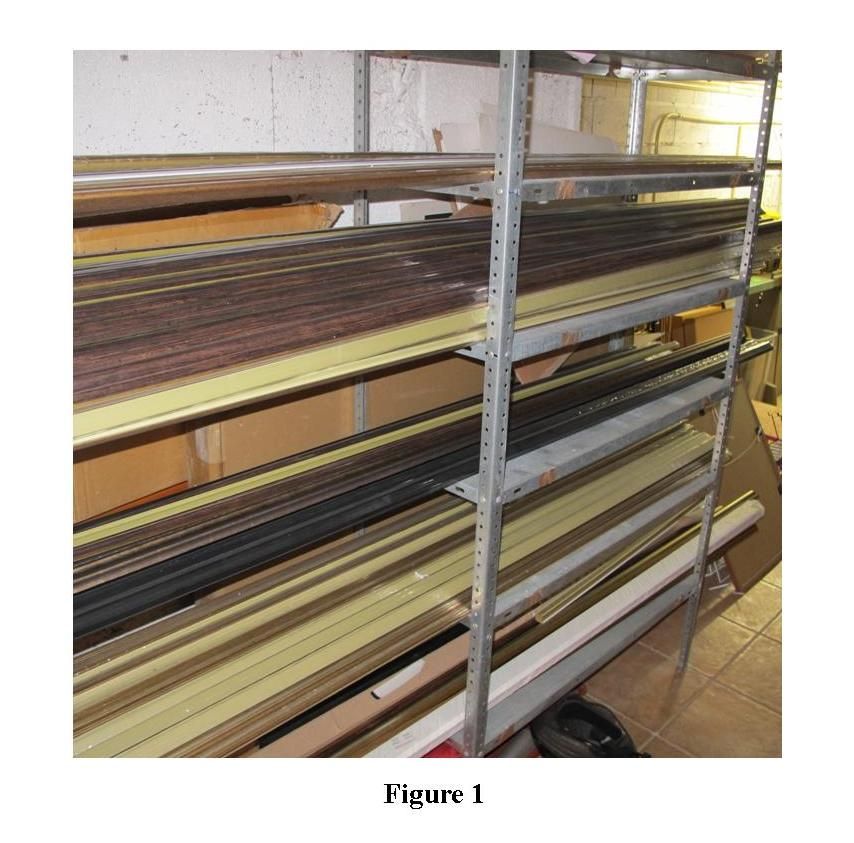
We have already mentioned that most picture moulding comes in lengths of approximately three metres. This will be one of the more difficult materials to store. It must be kept dry and preferably flat. The way I first stored mine is as follows. In my garage I put two sets of metal shelving units side by side and adjusted the shelf height on each unit to match the one next to it. I could then slide all my mouldings along the shelves. Shelving units will not take up a width of more than 18" of floor space. (see figure 1).

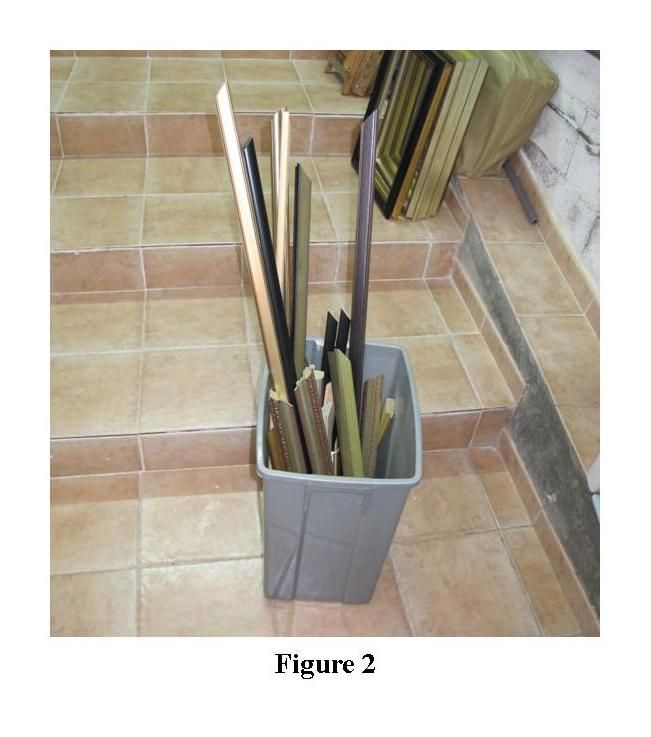
Keep different colour and different width mouldings on separate shelves and keep one shelf for large odds and ends. It's surprising how often one odd piece of moulding is just the right size to finish a framing job. Keep all your smaller odds and ends in a waste bin; they will come in useful one day. (see figure 2)

Mountboard and back board
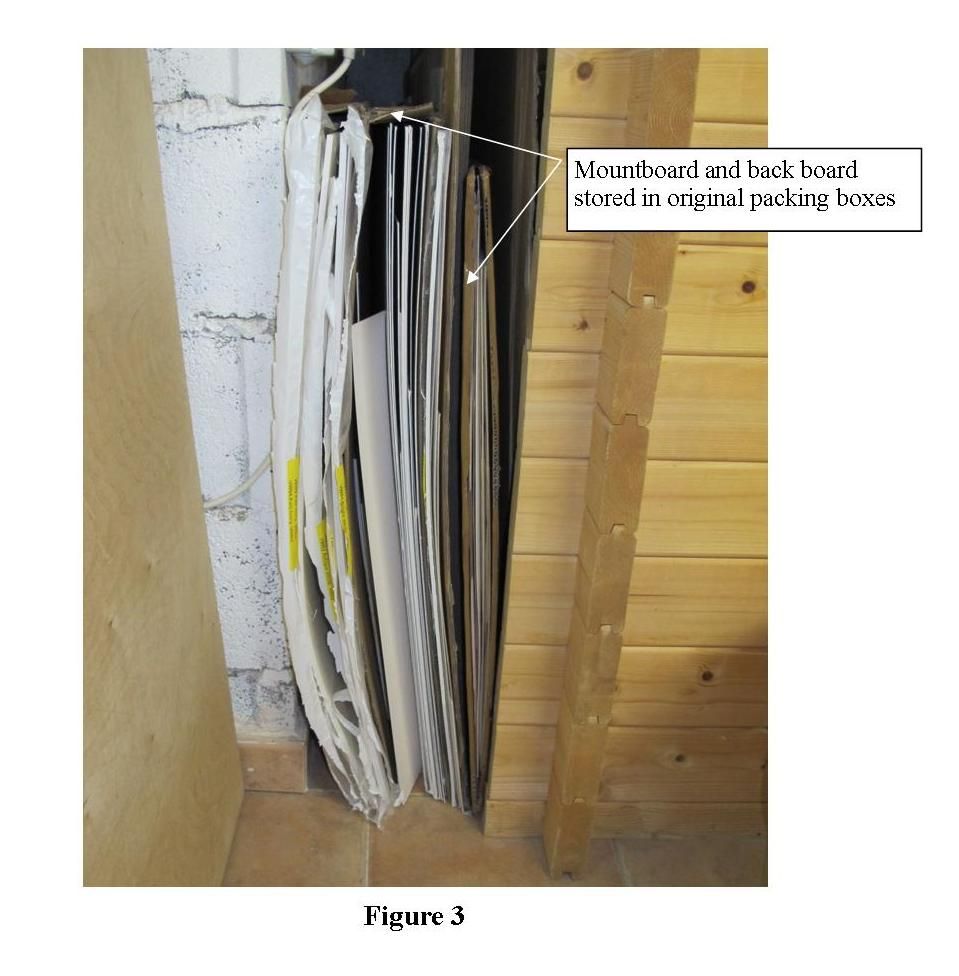
The most important thing to remember when storing boards is to keep them dry. The garage is therefore probably not the best place unless it is an integral part of your house. Before I had a larger workshop area, I kept most of my mountboard either behind the bookcase, or under the bed! However, surprisingly, it is better to store your board vertically. Horizontal storage makes flipping through your collection of off-cuts for a suitably sized piece almost impossible. It is better, therefore, to store your board vertically and accept the fact that some of the larger boards will suffer bending. They will soon flatten out once they are enclosed in a frame and glass. If your storage area has vertical divisions this helps to store your board in terms of colour, size and so on. I leave mine in the packing boxes they arrived in and stack the boxes next to one another (figure 3).

Glass
I don't often frame very large pictures, so I keep a stock of medium size glass. (you will soon know the approximate size to store once you have done a few framing jobs). Purchase old pictures from a charity shop, take the glass out and add it to your collection. Glass should be kept flat if only for safety reasons. I keep mine on a piece of board that has little wheels on the bottom. I can then put a cover over my glass and slide my collection underneath any large piece of furniture out of sight and easily accessible. If you really want to take up picture framing, it's amazing how many ingenious little ways you can find for storing your materials.
Once people know you do picture framing you will have all sorts of requests. Some just want a mount (mat) cut, others want a piece of glass replaced and others want a whole picture framing job done from start to finish. So, how do we go about pricing all these different jobs?
How to accurately price a picture framing job
When working out the cost of a framing job, whatever you do don't guess! You will nearly always loose out. It's always the little things that get forgotten. These little things all add up and you will be surprised at how often you forget to include them.
So, how can we make sure our pricing is accurate?
There are special Apps you can purchase that will do all the calculations for you. All you have to do is spend a little time loading in all your prices, hourly rates, VAT etc. then, when you put in the details of a job, the programme will work out the cost for you. There are several of these programmes around, try and find one that is a one off payment rather than one that demands a monthly subscription. Apps are coming and going all the time so recommending one here would probably soon be outdated. I did find a free one once, but sadly, this does not seem to be around any longer. Find one that suits your needs, the very complex ones are probably not necessary for most small businesses. They really are worth investing in.
I hope you have enjoyed thee articles on picture framing. I have only covered the very basic topics but hopefully it will be enough to start you off if picture framing is something you think you would enjoy.
